 Support
Suivo Realty · Getting started
Set up and connect your Suivo Realty account
Sign in with Google, configure your Realty profile and team, then connect your work mailbox.
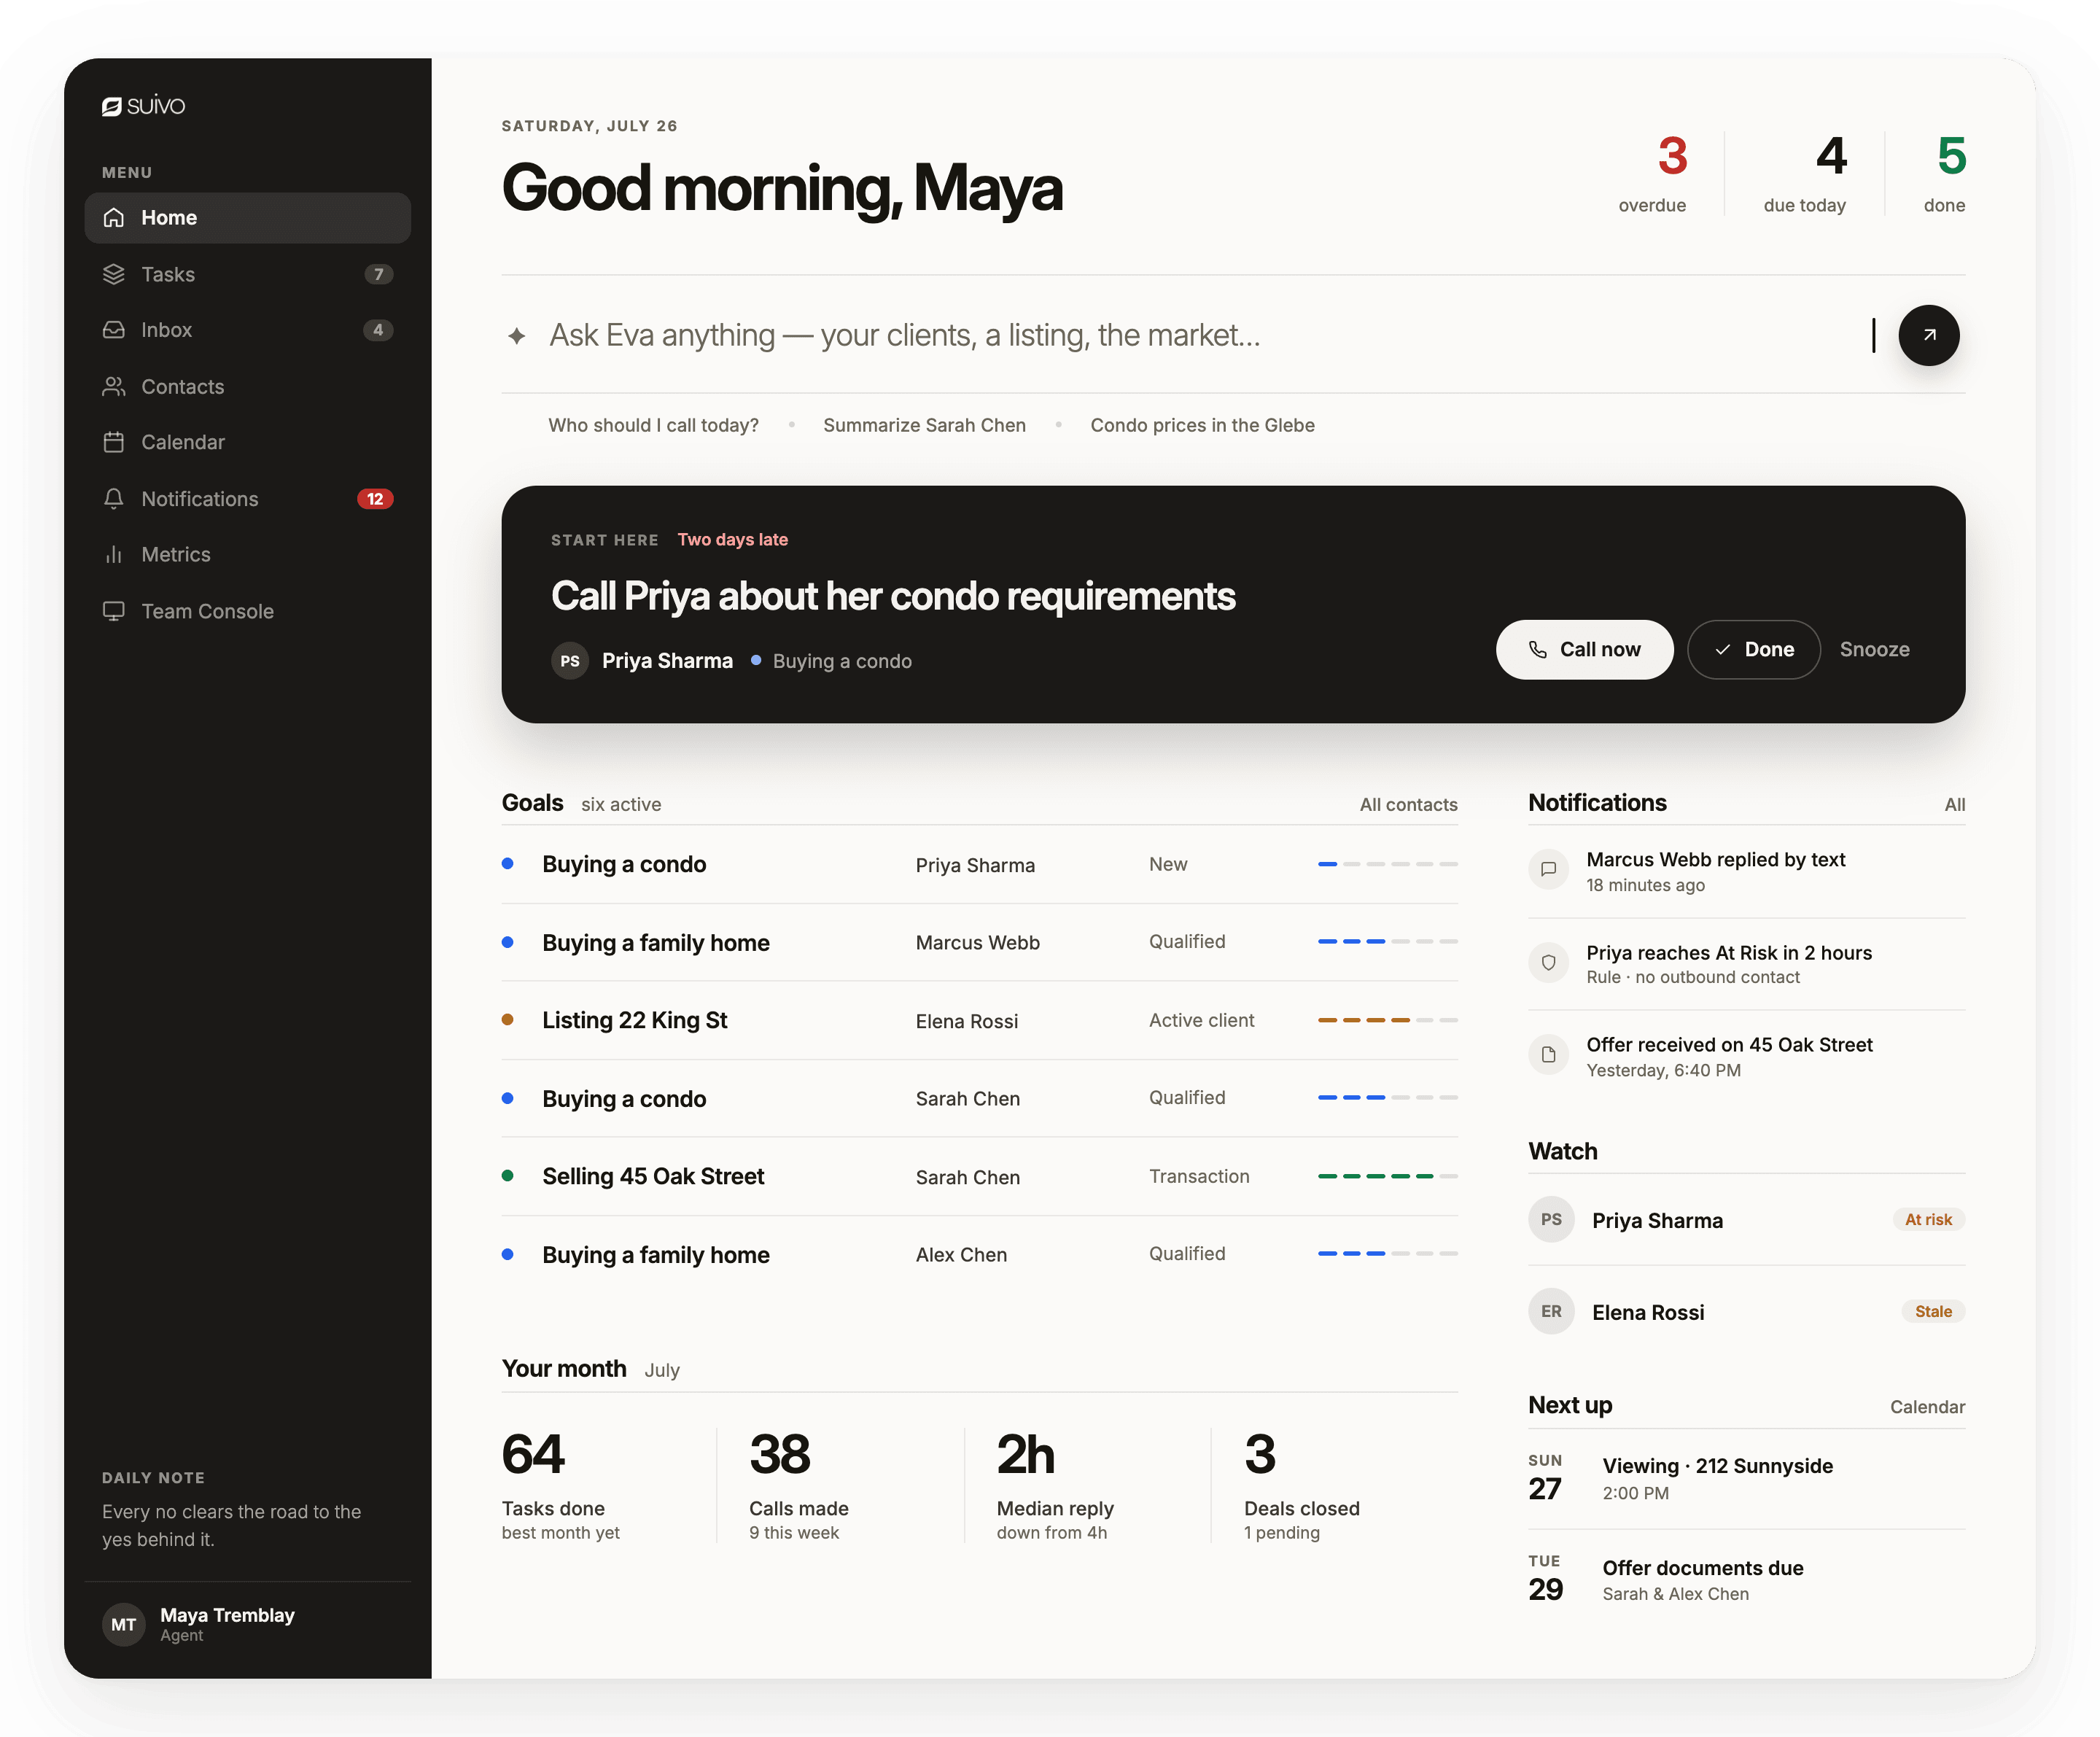
Interactive walkthrough
Set Up and Connect Your Real Estate Account in Suivo
Click through the real screens at your own pace. The tour opens in a focused overlay and can be closed at any time.
Complete written guide
Follow the setup step by step
The written steps below mirror the 18 actions in the interactive tour.
Part 1 · Steps 1–3
Sign in and choose Realty
-
Continue with Google
On the Suivo sign-in screen, select Continue with Google.
-
Choose your Google account
Select the Google account you want to use to sign in to Suivo.
-
Select Suivo Realty
Choose Suivo Realty as the product you want to set up first.
Part 2 · Steps 4–8
Complete your Realty profile
-
Enter your full name
Enter your first and last name in the Full name field.
-
Open the Realty role menu
Select the Realty role dropdown to see the available roles.
-
Choose your Realty role
Select Agent or Team Manager, depending on your role.
-
Enter your Team Code
If you selected Agent, enter the Team Code supplied by your team.
-
Finish Realty setup
Select Finish Realty setup to create your Realty workspace access.
Part 3 · Steps 9–12
Open mailbox settings
-
Open Settings
From the Suivo dashboard, select the Settings icon.
-
Open your Profile
In the account options menu, select Profile.
-
Add a connected account
Under Connected Accounts, select Add account.
-
Choose Google Mailbox
Under Google, select Mailbox to begin email synchronization setup.
Part 4 · Steps 13–18
Authorize your work mailbox
-
Select your work Google account
Choose the work email account that Suivo should connect and synchronize.
-
Review Google’s verification notice
If Google displays a verification notice, confirm that you are on accounts.google.com and that you intentionally started the Suivo connection. Stop and contact support if anything looks unexpected.
-
Open the advanced option
After completing the safety check, select Advanced, then choose Go to Suivo to continue.
-
Confirm your Google sign-in
Review the privacy and terms links, then select Continue.
-
Grant the requested access
Review the Google access request and select Continue again to grant access.
-
Confirm the mailbox connection
Return to Connected Accounts and confirm that your work email appears. Initial email synchronization and classification may take up to 24 hours.
Still need help?
We’ll help you get connected
Tell us which step you reached and what appeared on screen. Please do not send passwords or authorization codes.